
Creating your own bridal makeup means you can tailor your look to exactly the way you want it – no one knows your own style better than you and, like most brides, you probably have a whole heap of inspo from Instagram and blogs. But for DIY bridal makeup, there are certain elements that help build the foundation first so you can then have fun with the creative bits.
Code8 has teamed up with TWE to develop an exclusive bridal bundle, containing all the essential products you’ll need. To see you through morning photographs, walking up the aisle, your wedding breakfast, the dancefloor and, no doubt, some tears of laughter and joy, Code8’s long-lasting, high-performance products are ideal. And remember, before the big day, it’s important to trial a selection of products to find the right look. But whether your focus is on a radiant skin finish or luscious lips, this collection is designed to ensure you look stunning from dusk till dawn on your special day.
The Bridal Look
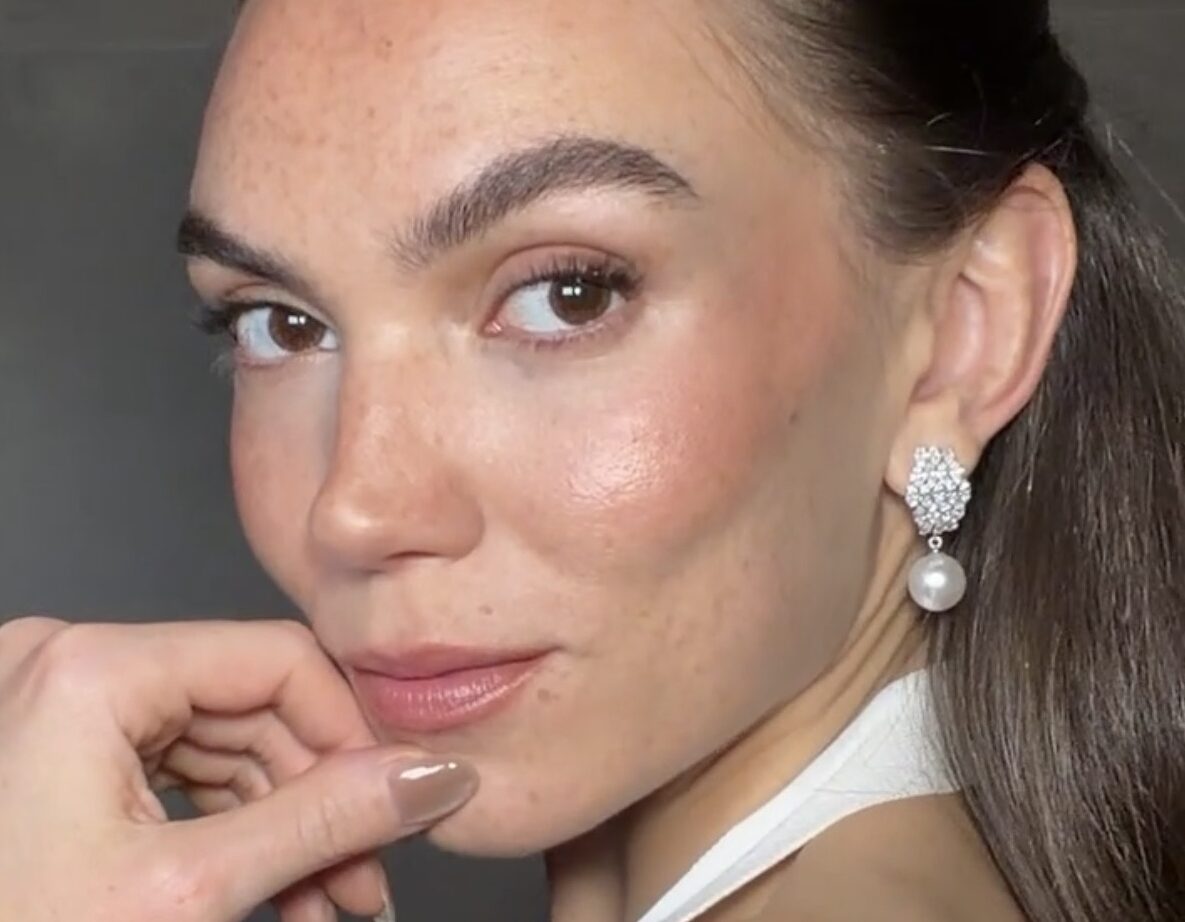
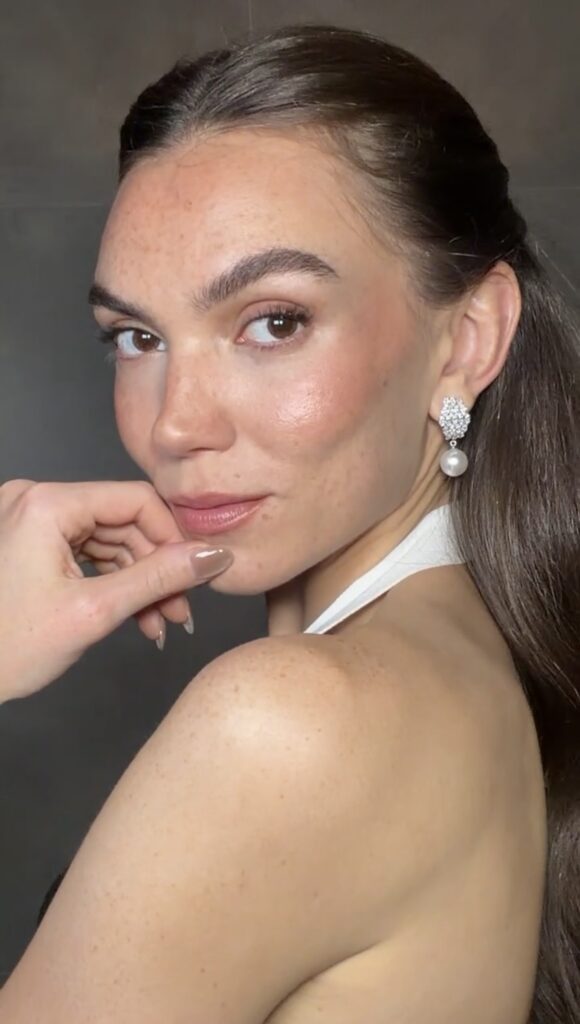
For this bridal makeup, we’re focusing on a soft glam aesthetic. This is one of my favourite looks as it strikes a balance between elegance and subtlety, ensuring polish without being overly dramatic. It also complements a wide range of wedding themes and seasons, making it a timeless choice that you’ll appreciate in years to come when you look through your photos.
The skin finish here is fresh and radiant, designed to highlight your natural beauty while providing just the right amount of coverage. Key features include a dewy glow and a flawless, even complexion, but without masking your natural features – after all, you still want to look like you! We’re creating the effect of luminous and healthy-looking skin that lasts throughout your special day.
Overall, the vibe of this look is sophisticated yet natural, allowing you to feel like the best version of yourself. It’s understated, classic, and effortlessly chic – ideal for a bride who wants to feel confident and comfortable.
Step-by-Step Bridal Makeup Routine
Step 1: Skin Prep
Before you apply any makeup, thorough skincare is essential. Proper skin preparation can enhance the longevity of your makeup throughout the wedding day and ensures you have a flawless canvas. So start by cleansing and moisturising your skin, taking care to address any areas that may need extra hydration or soothing.
Step 2: Base
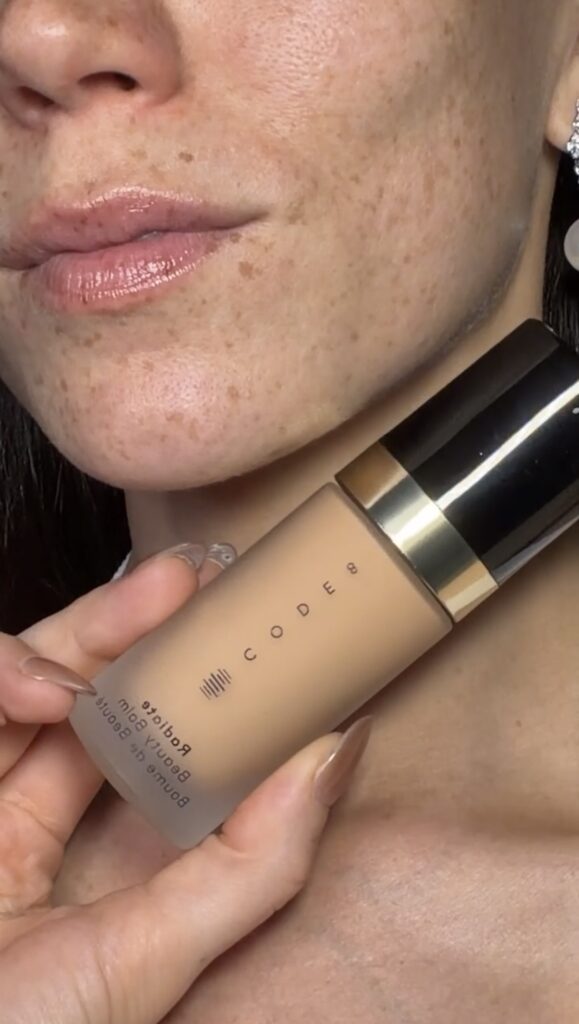
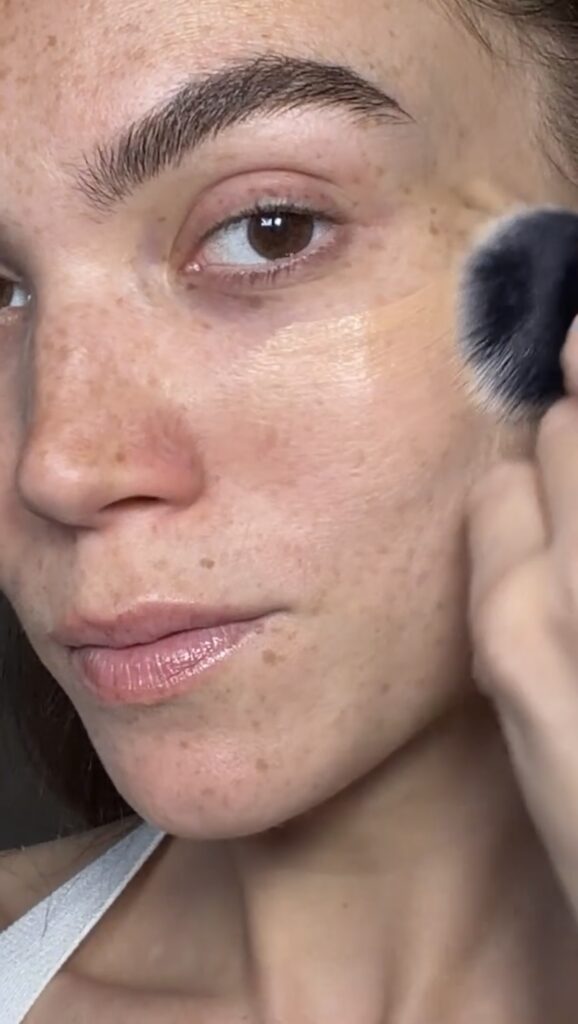
When your moisturiser has sunk in, you can start on your base. For this look, I used the Radiate Beauty Balm. It provides a radiant glow with just the right amount of coverage, maintaining a natural appearance. You can apply it with fingers, but I prefer to use a brush. Make sure you blend the product close to the hairline, around the ears, and down the neck and décolleté for an even finish – this is where a brush comes in handy.
- Products used: Radiate Beauty Balm (W20)
- Top tip: Blend thoroughly for a seamless, natural base
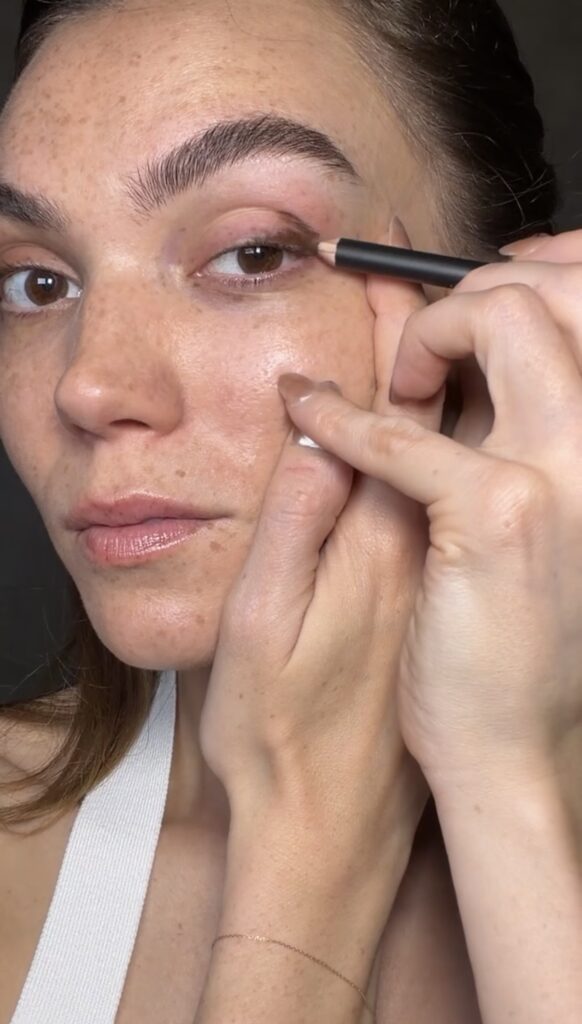
Step 3: Eyes
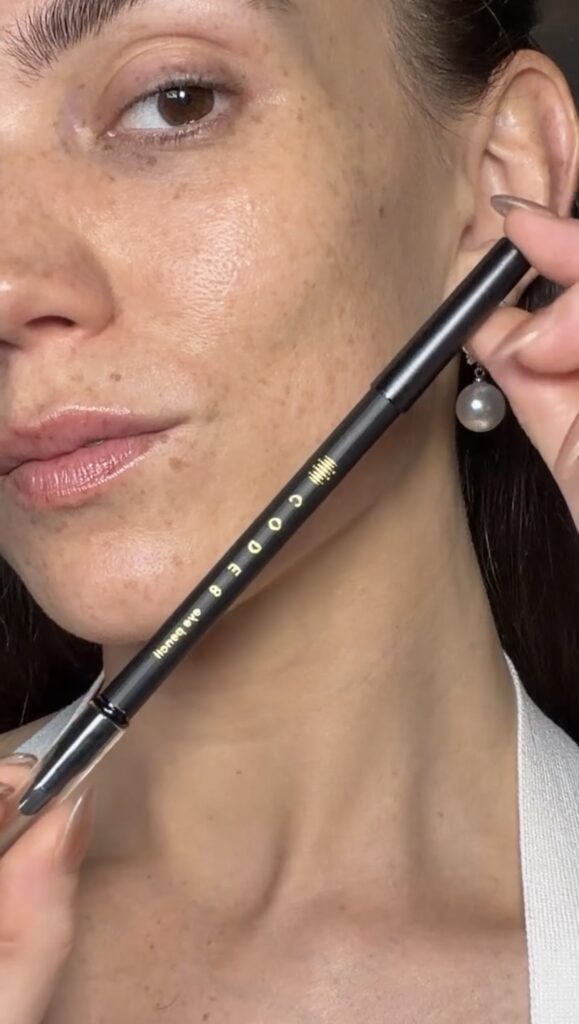
Next, I took the Eye Pencil in Mocha, using it to create a soft shadow. Apply the pencil close to the lash line and create a V-shape at the outer corners, blending upwards into the crease with a small brush to lift and elongate the eyes. For added definition, line the upper waterline to give the illusion of longer lashes. Next, curl your lashes with an eyelash curler and apply the Lash Sophisticate Mascara. This is a fab product that lengthens and volumises lashes and it has vitamins E and A to condition and prevent breakage.
- Products used: Eye pencil (Mocha), Lash sophisticate mascara
- Top tip: Blend pencil upwards for a lifted effect; curl lashes before mascara application
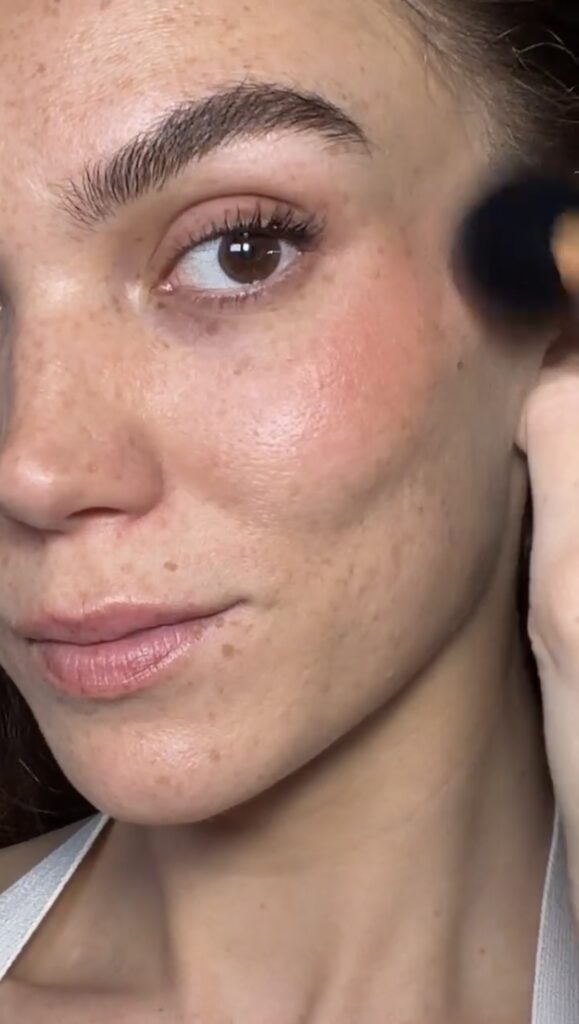
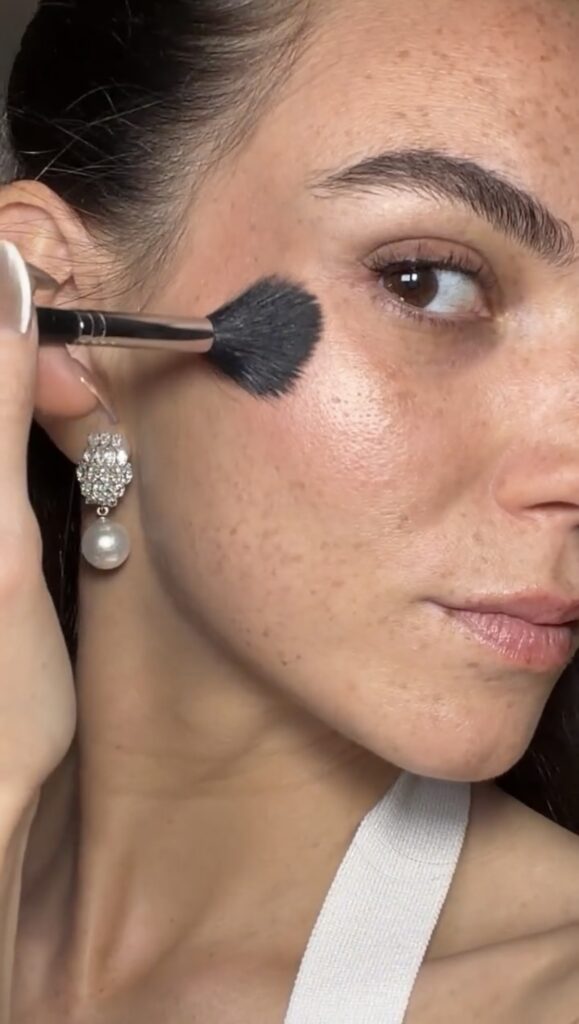
Step 4: Cheeks
Blush has always been a focal point of bridal looks and, with its three shades, the Mood Reflecting Blush Palette in Rosé taps into the trend for building and blending colour. Apply the two pink shades to the apples of the cheeks and blend upwards into the hairline to accentuate the cheekbones. For a sun-kissed look, apply a small amount of blush to the bridge of your nose, giving a fresh and youthful effect. Use the highlight shade on the high points of your cheekbones, sweeping it to the brow bone, tip of the nose, and cupid’s bow. You can also brighten the inner corners of the eyes with highlight, to open up the eye area.
- Products used: Mood Reflecting Blush Palette (Rosé), highlight shade
- Top tip: Blend blush upwards for lifted cheeks; highlight inner corners of eyes to brighten
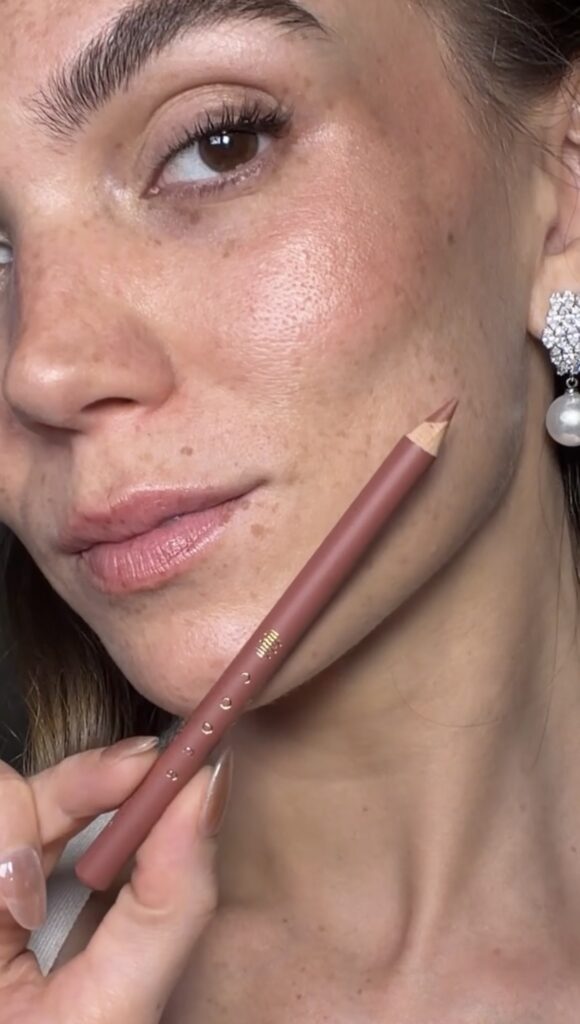
Step 5: Lips
Apply Lip Surrealist Lip Liner to the natural lip line, focusing on the outer corners. You can slightly overline the centre of the lips to create a fuller appearance for an eminently kissable pout. Finish with Colour Brilliance Sculpting Lipstick in The Met, a high-pigment, buildable, and moisturising lipstick that gives a ‘your lips, but better’ effect.
- Products used: Lip Liner, Colour Brilliance Sculpting Lipstick (The Met)
- Top tip: Overline only at the centre for a natural, plump effect
Step 6: Set
To finish, apply Seamless Cover Concealer as the last step to keep the under-eye area bright and fix any redness or blemishes. Place a dot of concealer on the inner and outer corners of the eyes and around the nose if necessary. Blend gently with fingers or a brush, moving from the inner corner down the nose for a brighter complexion. Blend up into the hairline at the outer corners for a lifted effect. Pat concealer onto any remaining blemishes for even coverage.
Pro Tips
Application mistakes to avoid
Use a minimal amount of product when applying your makeup. This is key to achieving a polished look. If you’re heavy-handed with product, it makes it trickier to correct any errors, like too much blush, for example. So always start with a small quantity and gradually build up the pigment. You’ll have more control over the finished result and can ultimately save time, as it reduces the likelihood of needing to fix mistakes and daubing away with cotton buds when ideally you want to be having a chilled glass of champagne with your bridesmaids.
Trial run advice
Do carry out a few trial runs on yourself ahead of the wedding day. Practising your makeup routine beforehand will boost your confidence and means you’ll be prepared for doing your makeup on the day itself. By giving yourself time to rehearse, you can experiment with how much colour you want to build up, whether you want to try overlining your lips and enhancing your pout and check how you’ll look in photos. Plus, you’ll get really good at doing it so you can enjoy the process on the big day and fully embrace being your own DIY makeup artist!
Shop Code8 Beauty’s Cheat Code Bridal Bundle, exclusive to The Wedding Edition, here.
READ NEXT: 3 DIY Bridal Looks With Code 8 Products


